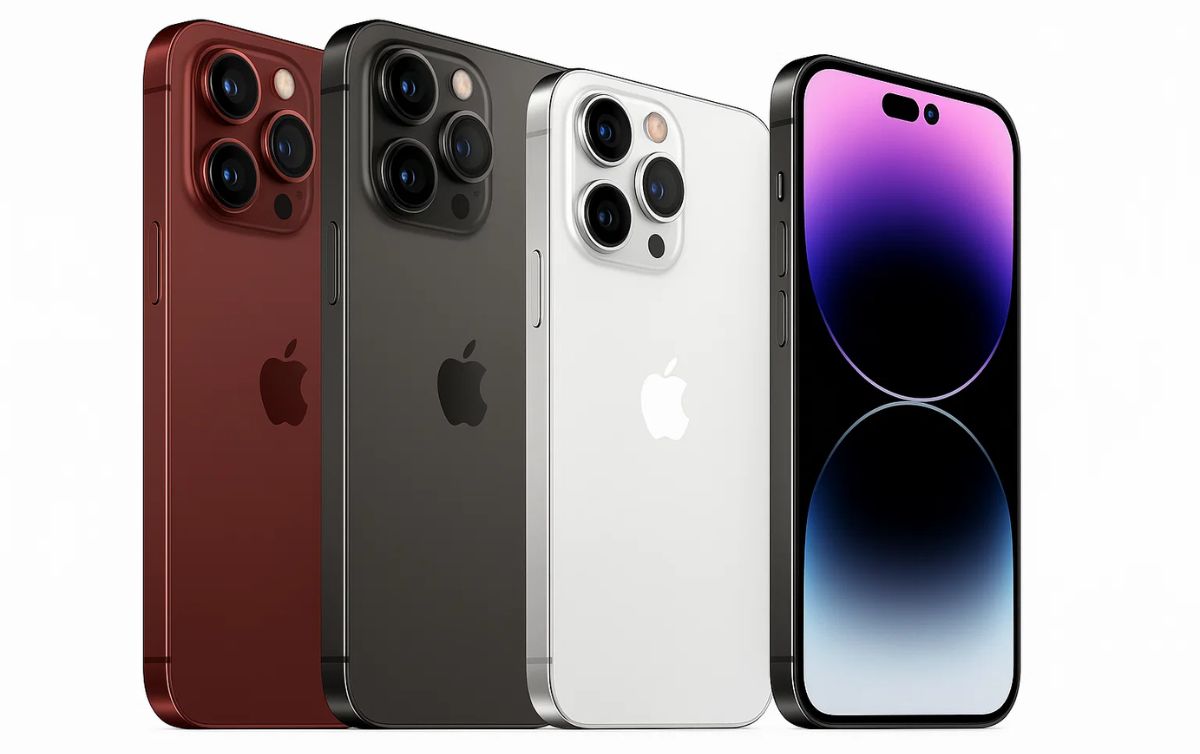
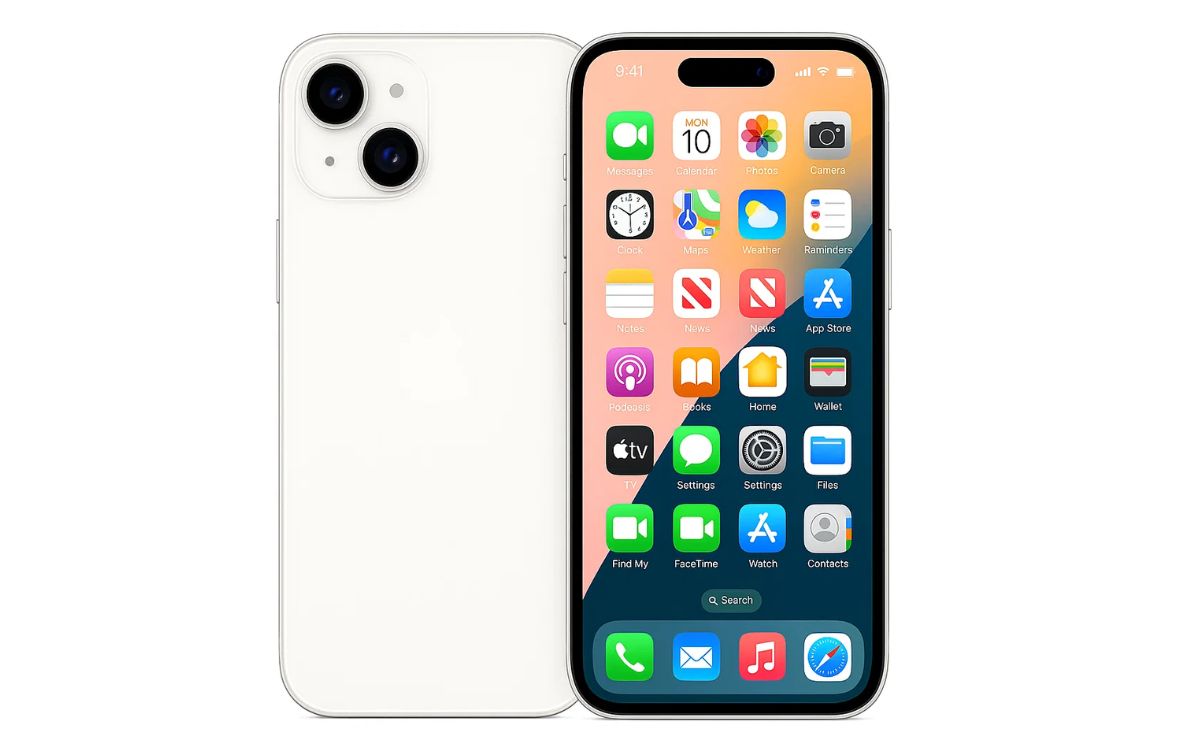
Switching to a new iPhone is always exciting—you get to experience the latest features, better performance, and improved battery life. However, one of the biggest concerns for users is migrating data safely and efficiently from the old device to the new one. From contacts and photos to apps and settings, transferring everything seamlessly ensures you can pick up right where you left off.
In this guide, we’ll walk through step-by-step methods for migrating data to a new iPhone, using Apple’s built-in tools and cloud services.

Step 1: Prepare Your Old iPhone
Before starting the migration process, it’s important to prepare your old device:
- Update iOS: Make sure both your old and new iPhones are running the latest version of iOS. This reduces compatibility issues during transfer.
- Check Storage: If you’re using iCloud, ensure you have enough space for a full backup.
- Charge Devices: Keep both iPhones charged or connected to power during migration.
- Wi-Fi Connection: A stable internet connection is required for iCloud or Quick Start transfers.
Step 2: Use Quick Start for Easy Transfer
Apple’s Quick Start feature is the easiest way to set up your new iPhone:
- Place your old and new iPhones close to each other.
- Turn on the new iPhone, and it will detect the old one.
- A screen will appear on your old device asking if you want to set up the new iPhone.
- Scan the animation displayed on the new iPhone using the camera of your old one.
- Follow the on-screen instructions to authenticate.
- Choose whether you want to transfer data directly from your old iPhone or restore from an iCloud backup.
With Quick Start, data migration happens wirelessly and can include apps, photos, messages, and settings.
Step 3: Restore from iCloud Backup
If you regularly back up your iPhone to iCloud, restoring is simple:
- On the new iPhone, go through the initial setup screens until you reach Apps & Data.
- Select Restore from iCloud Backup.
- Sign in with your Apple ID and choose the most recent backup.
- Stay connected to Wi-Fi until the transfer is complete.
This method ensures you get not only your files but also app data and preferences.
Step 4: Restore from Mac or PC
If you prefer using a computer, iTunes (on Windows) or Finder (on macOS) can be used:
- Connect your old iPhone to the computer.
- Open iTunes or Finder and create a full backup.
- Select Encrypt Backup if you want to save Health and password data.
- Disconnect the old iPhone and connect the new one.
- Choose Restore Backup and select the most recent file.
This is an excellent option if you have limited iCloud storage or a slow internet connection.
Step 5: Manually Transfer Specific Data
In some cases, you might want to transfer only selected items:
- Photos & Videos: Use iCloud Photos, AirDrop, or manually transfer via a computer.
- Contacts: Ensure they’re synced to iCloud or export them through email.
- Music & Files: Sync with iCloud Drive, iTunes, or third-party services like Google Drive.
Manual transfers are helpful when switching between multiple Apple IDs or if you don’t want a full migration.
Step 6: Verify Data on Your New iPhone
Once the migration is complete, double-check that all your data is available:
- Open Photos and ensure your albums are intact.
- Check Messages and WhatsApp for conversations.
- Verify Contacts, Calendars, and Notes.
- Make sure your apps are downloaded and functioning properly.
If anything is missing, you can re-sync with iCloud or re-download apps from the App Store.
Step 7: Reset or Erase Old iPhone (Optional)
If you plan to sell or trade in your old iPhone, you should erase all personal data:
- Go to Settings > General > Transfer or Reset iPhone.
- Select Erase All Content and Settings.
- Sign out of iCloud before erasing to disable Activation Lock.
This ensures your old phone is ready for a new owner without compromising your privacy.
Additional Tips for a Smooth Migration
- Use a Fast Wi-Fi Network: Migration can take hours depending on data size.
- Keep Devices Plugged In: Prevent interruptions during transfer.
- Check App Compatibility: Some older apps may not work on the latest iOS.
- Secure Your Apple ID: Make sure two-factor authentication is enabled.

Conclusion: Why Trust GLP Wireless?
Migrating to a new iPhone may feel overwhelming, but with the right steps, it’s smooth and hassle-free. Whether you use Quick Start, iCloud, or a computer backup, Apple makes it easy to carry your digital life forward. However, when it comes to ensuring you have the right device to migrate to, GLP Wireless stands out as a trusted name. Known for its reliability, transparency, and commitment to customer satisfaction, GLP Wireless has become a go-to choice for people upgrading or buying iPhones. If you want both a seamless migration and a dependable source for your next iPhone, GLP Wireless is the company you can count on.

